
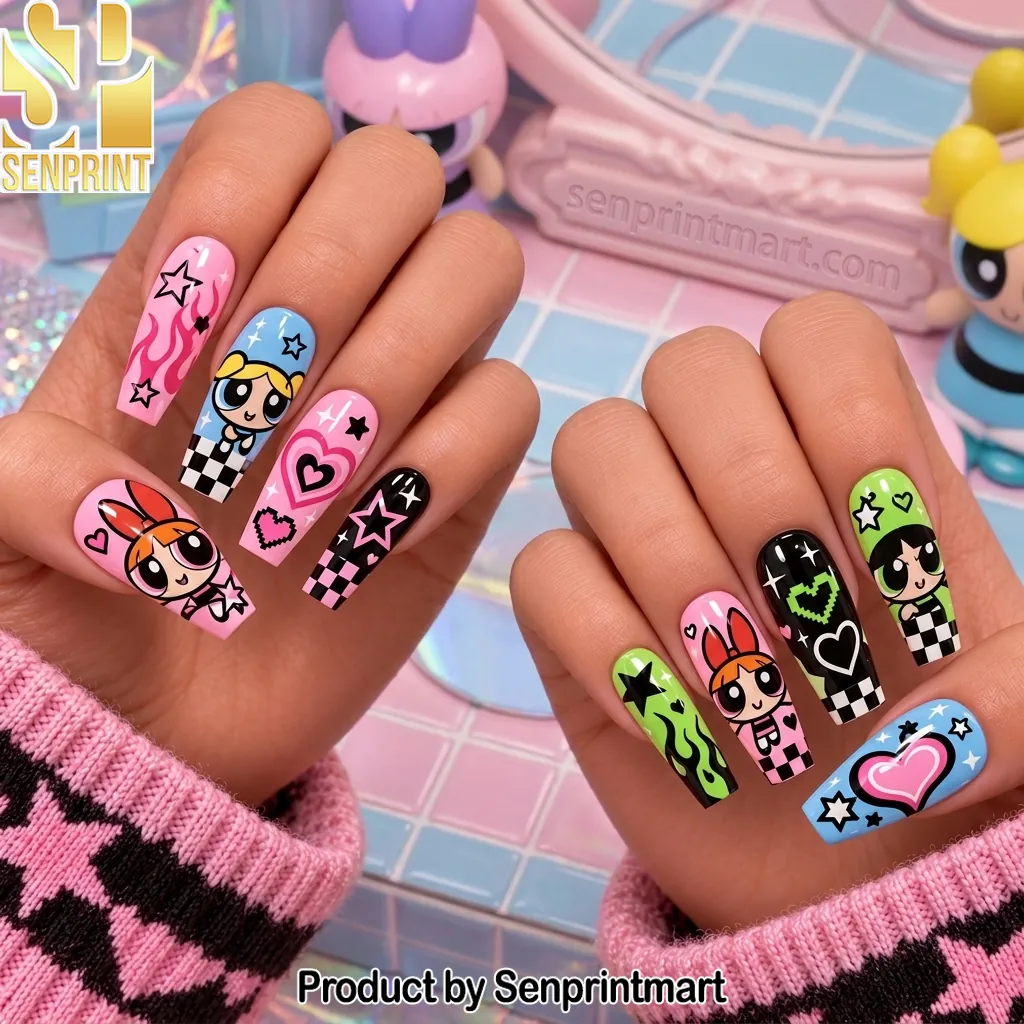
Powerpuff Girls Y2K Aesthetic Long Coffin Press On Nails
Original price was: $124.95.$115.95Current price is: $115.95.
-
10% OFF 2 items get 10% OFF on cart total
-
20% OFF 3 items get 20% OFF on cart total
-
30% OFF 4 items get 30% OFF on cart total
Christmas Tree Ornament
Advent Calendar

Quarter-Zip Hoodies
Tennessee Vols Rocky Top Mascot Sherpa Lined Quarter Zip Hoodie

Crewneck Sweatshirt and Jogger Sets



Crewneck Sweatshirt and Jogger Sets

Quarter-Zip Hoodies
Oregon Ducks Autzen Stadium Fleece Lined Quarter Zip Pullover
This Powerpuff Girls Y2K Aesthetic Long Coffin Press On Nails set captures the high-energy spirit of the late 1990s and early 2000s animation boom. Designed for those who value the intersection of pop culture history and modern nail art, these nails feature the iconic trio—Blossom, Bubbles, and Buttercup—in their original 1998 character iterations.
Technical Specifications
| Feature | Details |
|---|---|
| Material | High-grade ABS Acrylic |
| Sizing | 24-piece full set (inclusive of 12 standard sizes) |
| Print Technology | UV-cured high-definition digital ink |
| Shape | Long Coffin / Ballerina |
The Heritage and Legacy
The Powerpuff Girls premiered on Cartoon Network on November 18, 1998, marking a significant shift in television animation. Created by Craig McCracken, the show became a cultural phenomenon, dominating the ratings during the late 90s and early 2000s. By the time the franchise reached its peak in 2002 with the release of “The Powerpuff Girls Movie,” the characters had become global icons of girl power and retro-futuristic style. This set honors that specific era, referencing the bold color palettes and checkerboard motifs that defined the Y2K aesthetic.
The graphics utilize the distinct color-coded identities of the protagonists: Blossom (pink), Bubbles (blue), and Buttercup (green). These colors are paired with black-and-white checkerboard patterns and pixelated heart motifs, which were staples of early internet design and digital subcultures. By integrating these specific visual markers, the design provides a direct link to the transition from analog to digital media that defined the turn of the millennium.
Care and Longevity Guide
Maintain the integrity of the ABS acrylic by avoiding prolonged exposure to harsh chemicals, including acetone-based removers. To clean the surface, use a soft, damp cloth to remove oils or debris. Store the nails in their original container when not in use to prevent warping or scratching of the UV-cured finish.
For optimal placement, ensure the natural nail bed is dehydrated using an alcohol wipe before applying adhesive tabs or nail glue. Press firmly for 15 seconds to ensure a secure bond. These long coffin nails are designed for durability, but avoid using them as tools to open packages or perform heavy manual tasks to preserve the structural shape.
Are these nails reusable?
Yes, when applied with adhesive tabs, these nails can be removed and reapplied multiple times without damaging the base material.
What is the length of the coffin shape?
The long coffin shape measures approximately 25mm to 30mm from cuticle to tip, providing an elongated, dramatic silhouette.
Do these nails include adhesive?
Each set includes a comprehensive application kit containing adhesive tabs and a mini nail file for custom fitting.
Will the character prints fade over time?
The UV-cured ink is resistant to fading and chipping, ensuring the character details remain sharp throughout the lifespan of the wear.
https://images.senprintmart.com/wp-content/uploads/2026/10/10160346/nail-shape.png
Nail Size Chart
| Size | Nail Widths (mm) |
|---|---|
| XS | 14 mm, 11 mm, 12 mm, 10 mm, 8 mm |
| S | 15 mm, 12 mm, 13 mm, 11 mm, 8 mm |
| M | 16 mm, 12 mm, 13 mm, 11 mm, 9 mm |
| L | 18 mm, 13 mm, 14 mm, 12 mm, 10 mm |
For other custom sizes, please add a note when ordering.
Nail Shape Guide
| Length | Available Shapes | Approx. Length |
|---|---|---|
| Short | Square, Oval, Almond | ~18–21 mm |
| Medium | Square, Coffin, Almond, Stiletto | ~25–26 mm |
| Long | Coffin, Square, Almond, Stiletto | ~30–33 mm |
Nail lengths are approximate and may vary slightly depending on the selected nail shape.
How to Measure Your Nail
Method 1: Using a Soft Ruler
Measure your natural nails without nail polish or artificial nails. Starting from the widest part of the left nail groove, place a soft measuring tape across the curved nail surface and measure to the right nail groove. Record the width in millimeters.
Method 2: Using Paper or Tape
Place a small piece of paper or tape across the widest part of your nail. Mark both sides where the nail meets the skin, then flatten the paper or tape and measure the distance between the marks with a ruler.
Compare your measurements with the Nail Size Chart above to select the best fit.
Premium Everyday Press-On Nail Set
Achieve a flawless, salon-quality manicure in minutes with our Premium Everyday Press-On Nail Set. Designed specifically for daily comfort and lasting durability, these false nails offer a stunning, natural-looking finish that seamlessly integrates into your daily routine. Whether you are typing at a desk, running errands, or heading out for the evening, this set provides a convenient, damage-free, and time-saving alternative to traditional acrylics.
Custom Built for Daily Wear
Every hand is unique, and comfort is essential for everyday wear. Our sets are fully customizable to ensure a perfect, secure fit that feels as natural as your own nails.
- 11 Versatile Shapes: Choose from Short Square, Short Oval, Short Almond, Medium Square, Medium Coffin, Medium Almond, Medium Stiletto, Long Coffin, Long Square, Long Almond, and Long Stiletto. (Lengths range from approx. 18mm for functional short styles to 33mm for longer silhouettes).
- 4 Precise Sizes: Available in XS, S, M, and L to ensure a seamless fit from sidewall to sidewall without pinching. Custom sizing is also available upon request in your order notes.
Complimentary Application Toolkit Included
Each set comes with everything you need for a quick, secure application, offering options for both weekend wear and long-term daily adhesion:
- 1 Sheet of double-sided sticky tabs (for short-term, reusable wear)
- 2 Tubes of strong nail glue (for extended, secure daily wear)
- 1 Alcohol prep wipe
- 1 Mini nail file
- 1 Detailed instruction card
How To Measure Your Nails
For the most comfortable and secure everyday fit, measure the widest curved part of each natural nail.
- Soft Tape Method: Place a flexible measuring tape across the widest part of your nail, following the natural curve. Record the measurement in millimeters.
- Tape & Ruler Method: Place a piece of clear tape across the widest part of your nail. Mark both side edges with a pen, remove the tape, flatten it, and measure the distance between the marks with a ruler.
*For the highest accuracy, we highly recommend measuring all 10 nails individually before selecting your size.
Be the first to review “Powerpuff Girls Y2K Aesthetic Long Coffin Press On Nails”
Senprintmart Store

Reviews
Related products
Everyday Press-On Nails
Everyday Press-On Nails
Everyday Press-On Nails
Everyday Press-On Nails
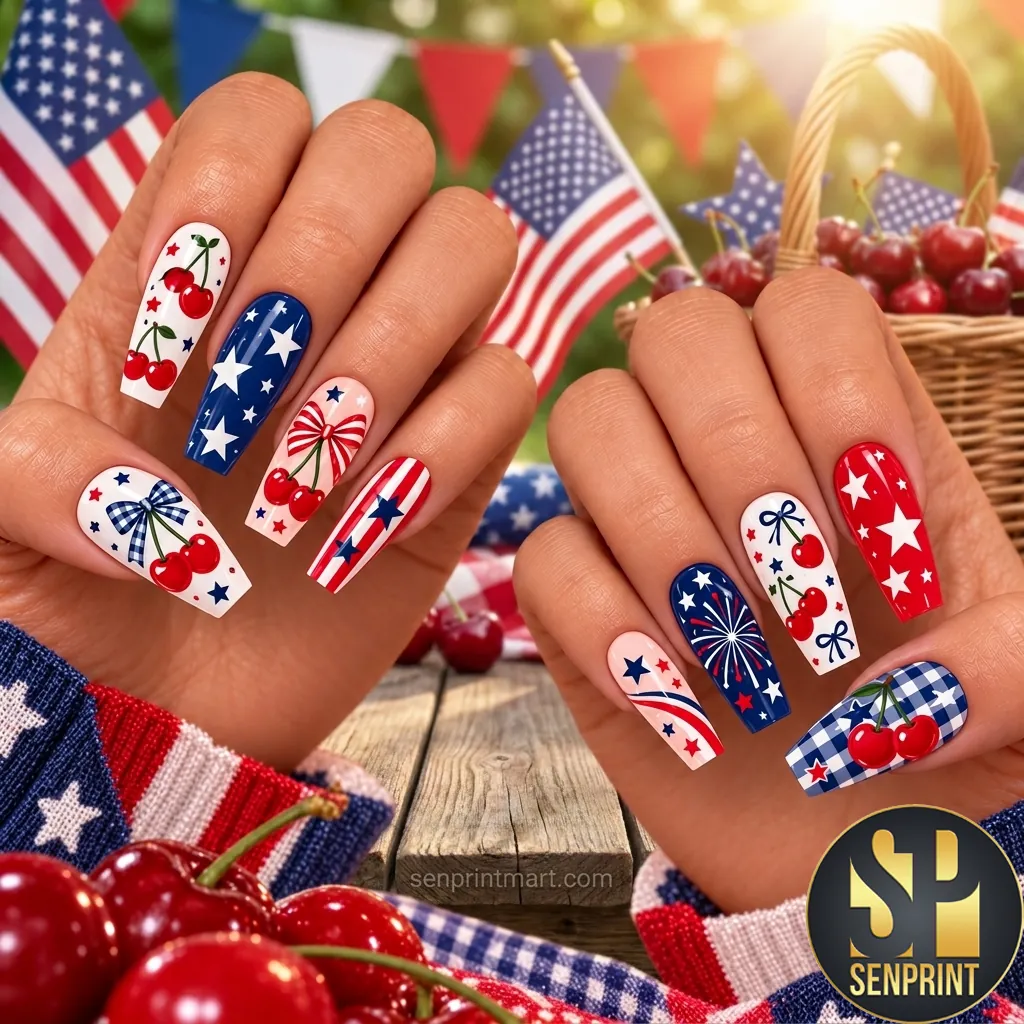
Everyday Press-On Nails
Patriotic 4th of July Red White Blue Cherry Stars Long Coffin Press On Nails
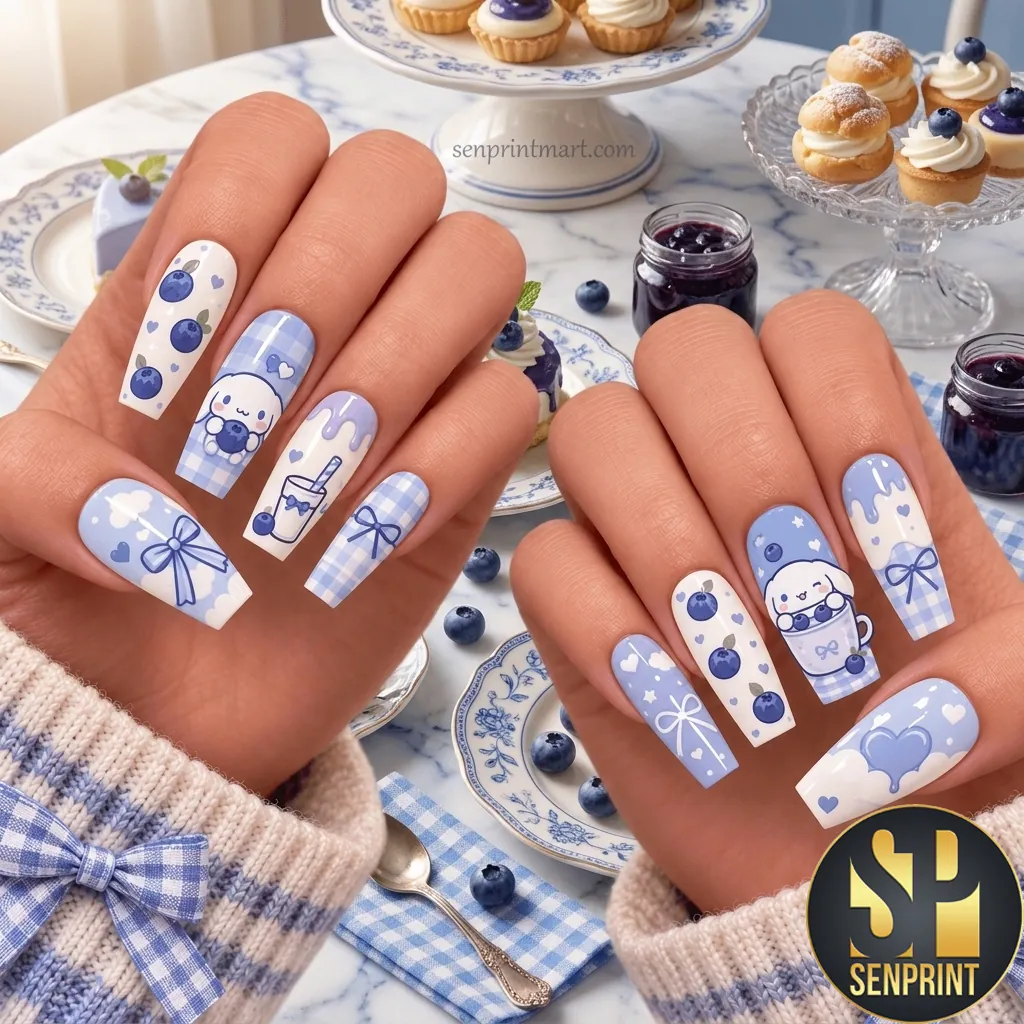
Everyday Press-On Nails
Reviews
There are no reviews yet.